POR15 and Sikaflex time!
In order to get the bottom of the bus bulletproof I decided to use POR15 chassis paint. This special enamel is based on a formular with cyanacrylat and happens to react with air humidity.
It dries to an incredible rock-hard, non-porous finish that won't chip, crack, or peel, and it prevents rust from recurring by protecting metal from further exposure to moisture.
I found this to be pretty cool and the result feels ok.
I applied the first layer directly on the aseptic and dustfree sheetmetal. Next step was to load my gun applying a total of 12 cartridges of sikaflex bodysealer throughout specific areas of the chassis. Every water- or mudtrap was spotted and closed forever. Finally the whole chassis received a finishing coat of POR15.
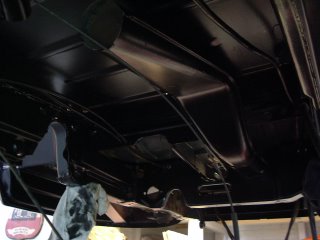
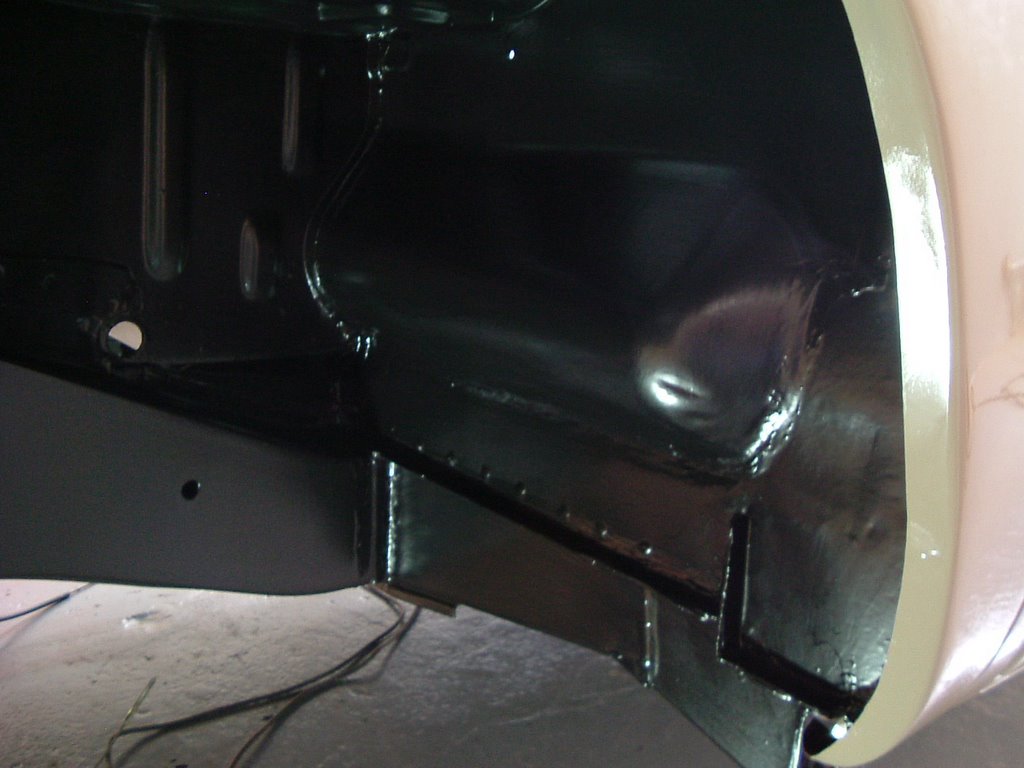
right-rear wheelarch:

right-rear torsiontube/outriggers:

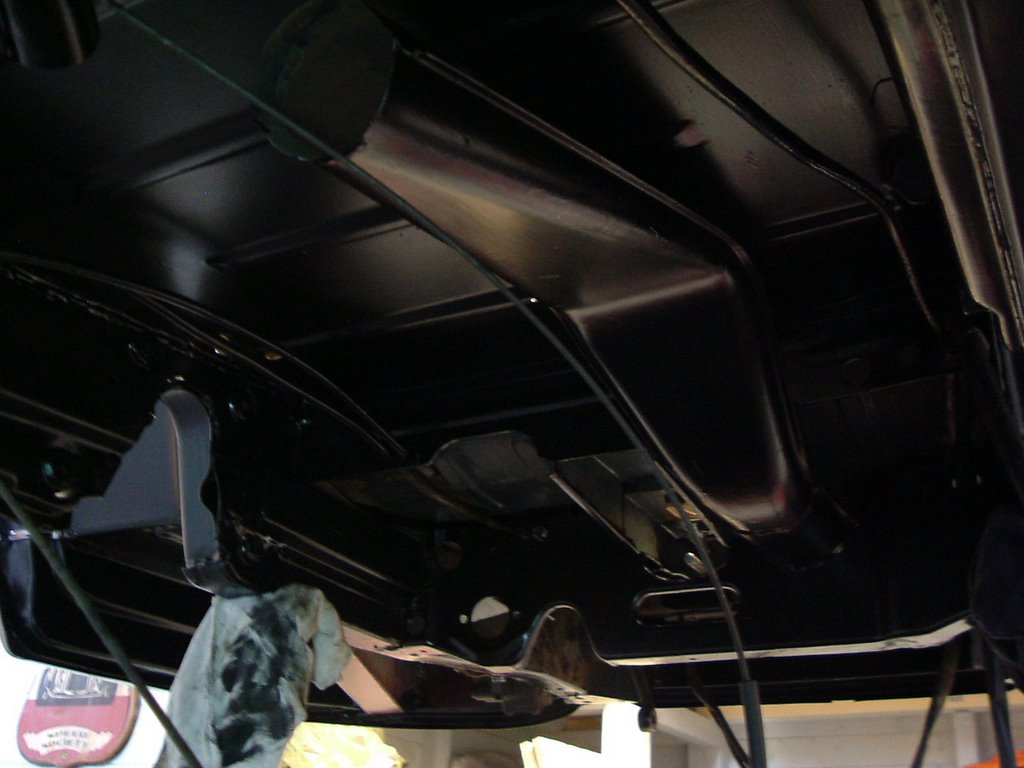
frontaxle area:
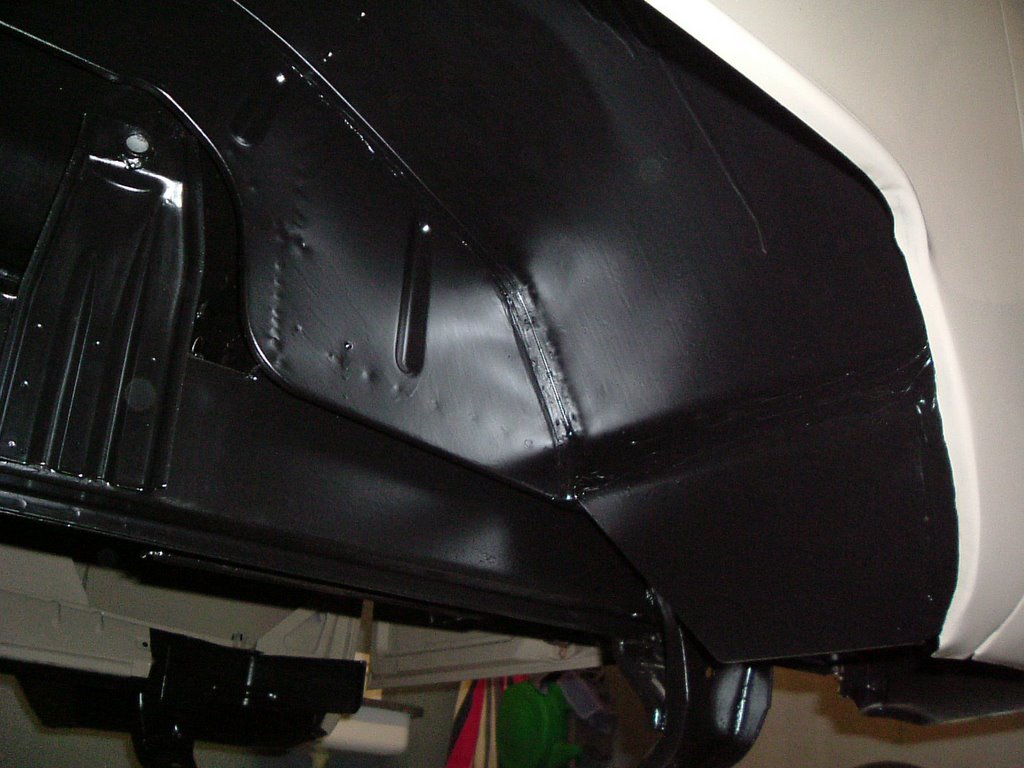
rear-left wheelarch:

rear-left wheelarch/dampermount:

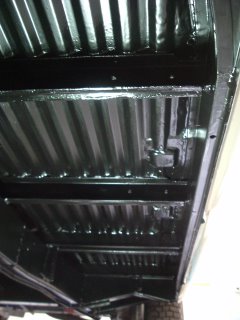
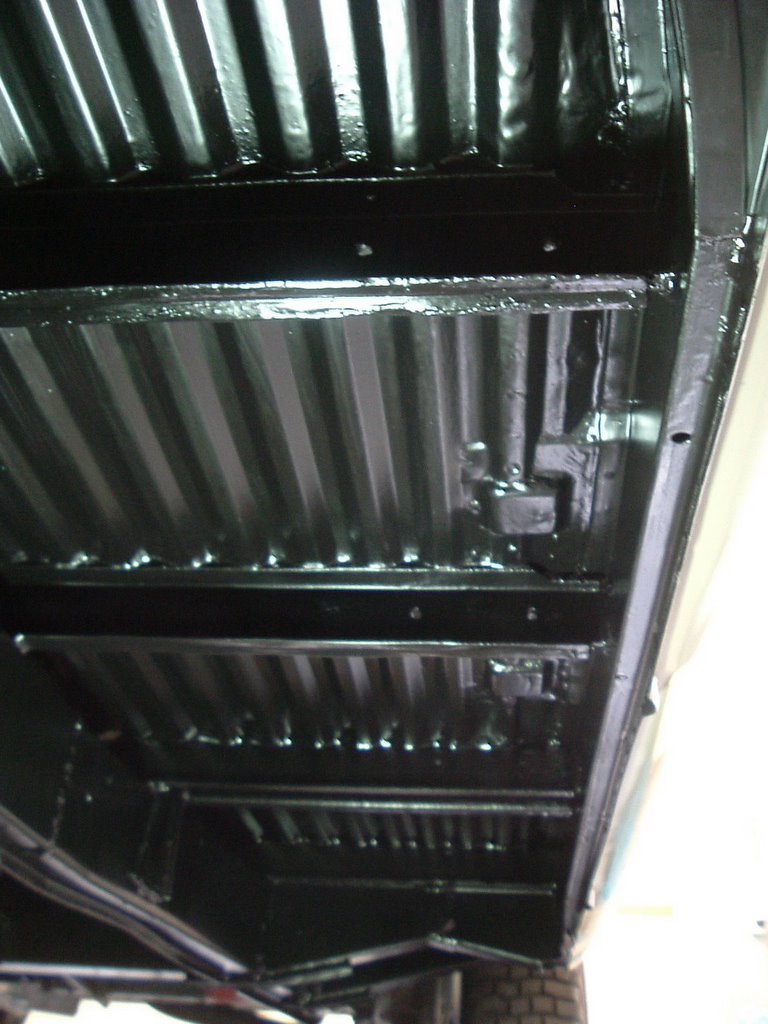
left-middle floorsection:

middle floorsection/shiftrodtube, showing
sikaflex treatment:

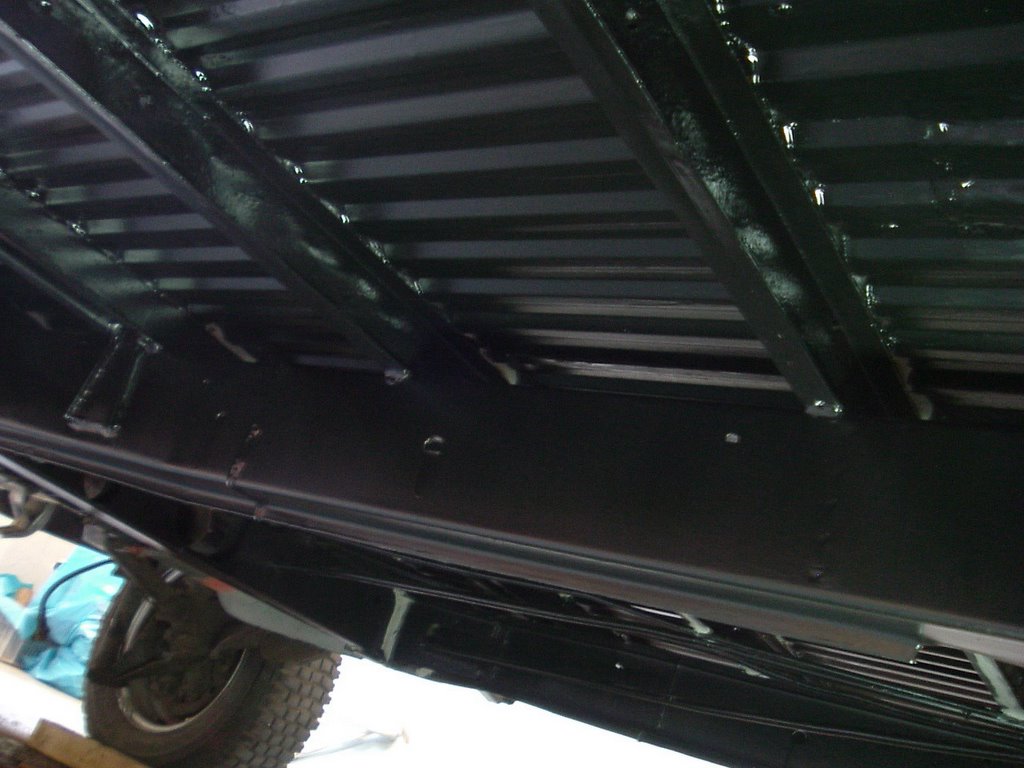
rightside framerail floorsection:

right-front jackpoint, remember the "before"-shot?:
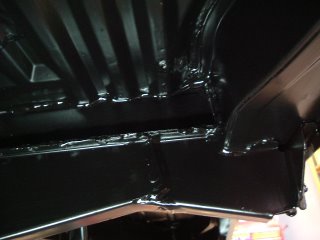
right-front jackpoint/outrigger area:

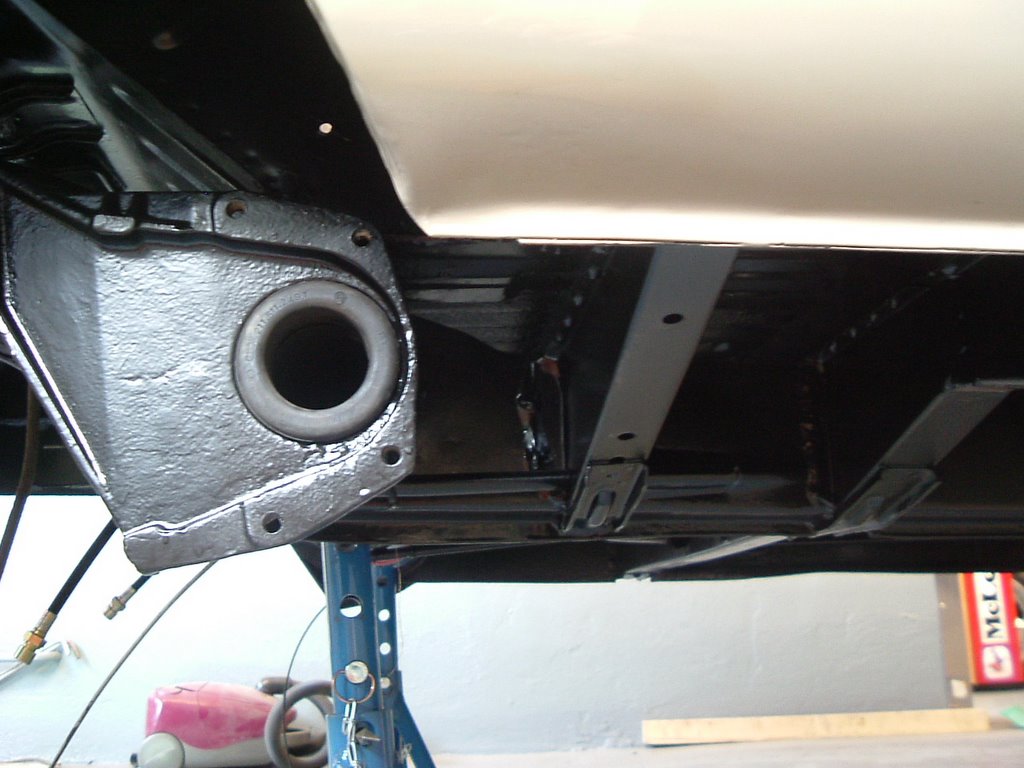
left-front wheelarch/jackpoint area:

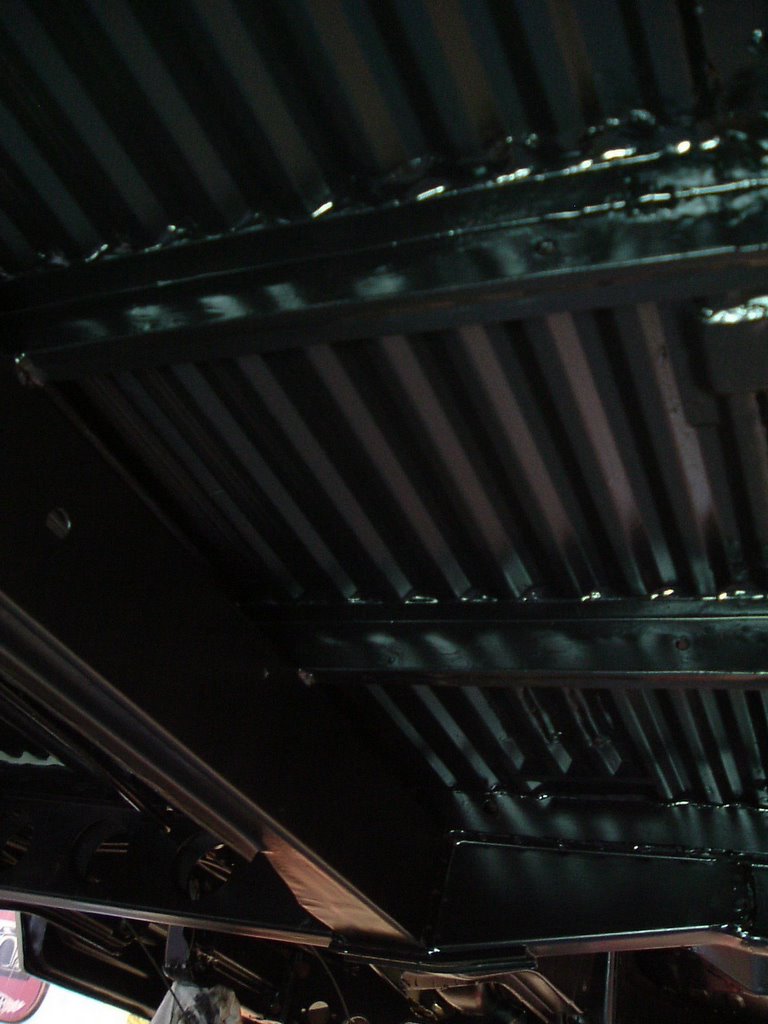
rightside floorsection towards front:
again left-front wheelarch:

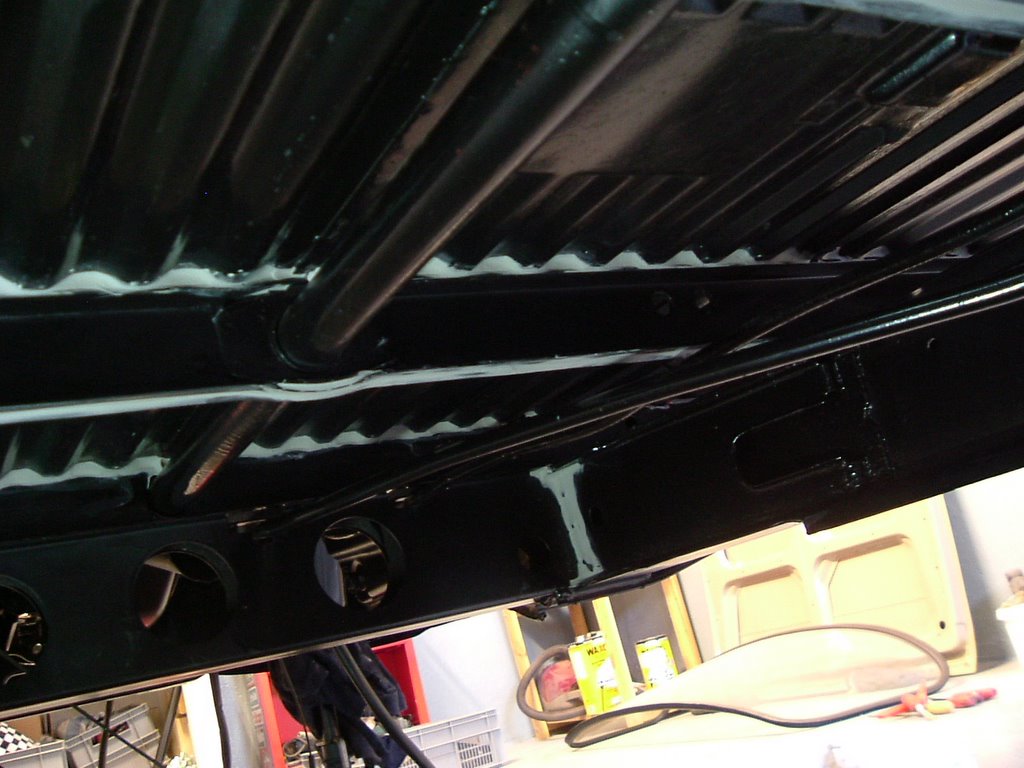
rightside view of main framerail and floorsection:

another angle of the same:

In order to get the bottom of the bus bulletproof I decided to use POR15 chassis paint. This special enamel is based on a formular with cyanacrylat and happens to react with air humidity.
It dries to an incredible rock-hard, non-porous finish that won't chip, crack, or peel, and it prevents rust from recurring by protecting metal from further exposure to moisture.
I found this to be pretty cool and the result feels ok.
I applied the first layer directly on the aseptic and dustfree sheetmetal. Next step was to load my gun applying a total of 12 cartridges of sikaflex bodysealer throughout specific areas of the chassis. Every water- or mudtrap was spotted and closed forever. Finally the whole chassis received a finishing coat of POR15.
right-rear wheelarch:

right-rear torsiontube/outriggers:
frontaxle area:
rear-left wheelarch:

rear-left wheelarch/dampermount:
left-middle floorsection:
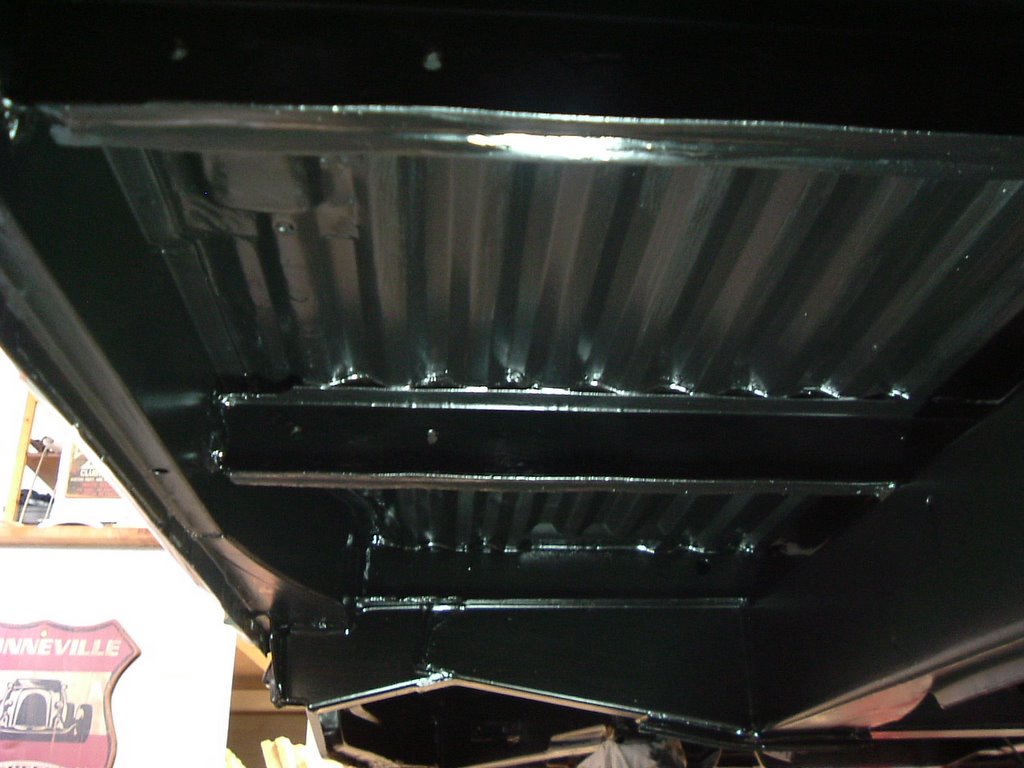
middle floorsection/shiftrodtube, showing
sikaflex treatment:
rightside framerail floorsection:

right-front jackpoint, remember the "before"-shot?:

right-front jackpoint/outrigger area:

left-front wheelarch/jackpoint area:
rightside floorsection towards front:
again left-front wheelarch:

rightside view of main framerail and floorsection:
another angle of the same:
posted by Gunns / Der.Weisse.Riese at 8.2.06
![]()
![]()


<< Home