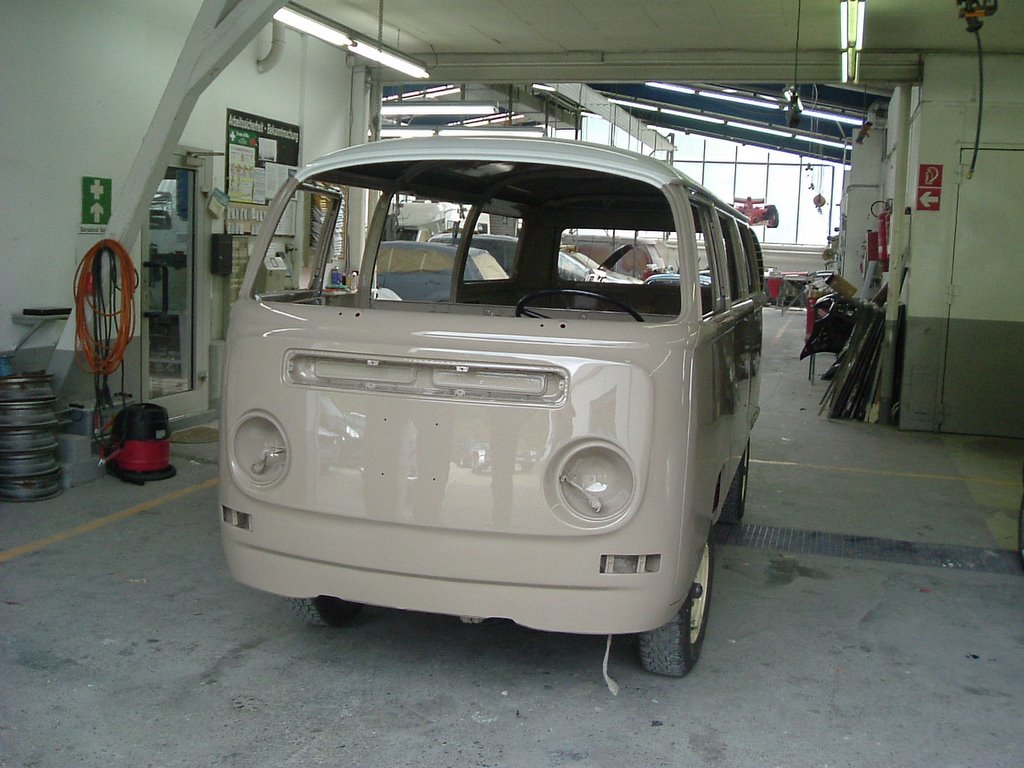
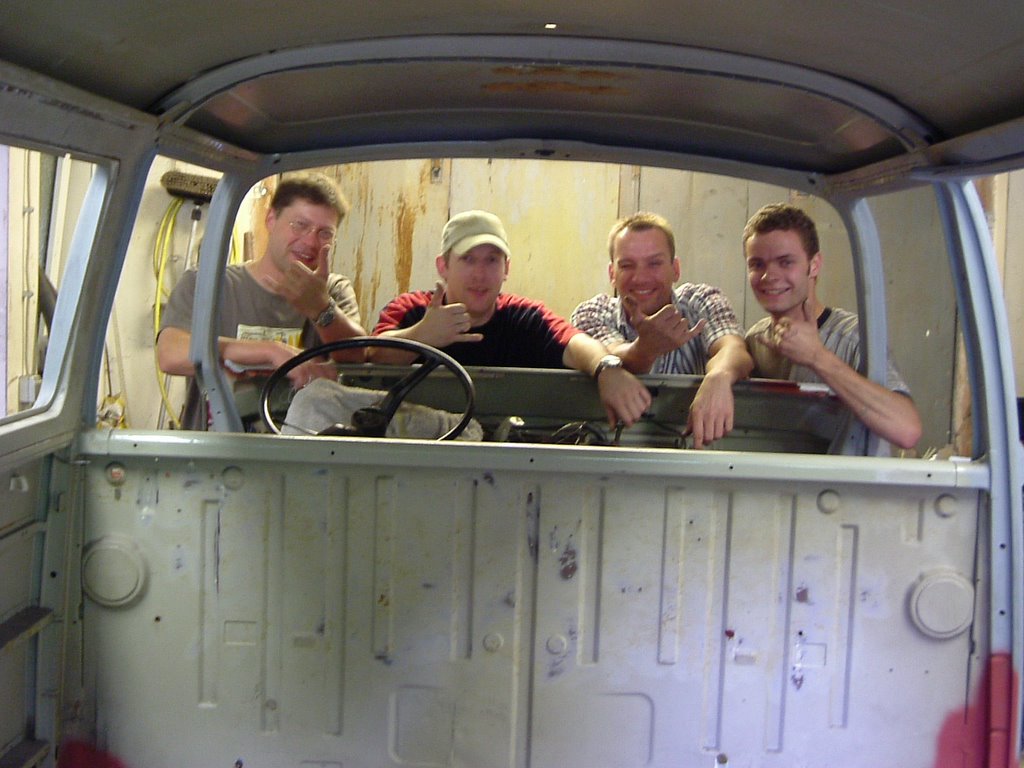
Wednesday, February 08, 2006

Tool-time!

Fun ahead! I love wrenching and torqing 17+mm nuts and bolts, thats my world. Especially if you can take new, NOS or refurbished parts off your shelf.
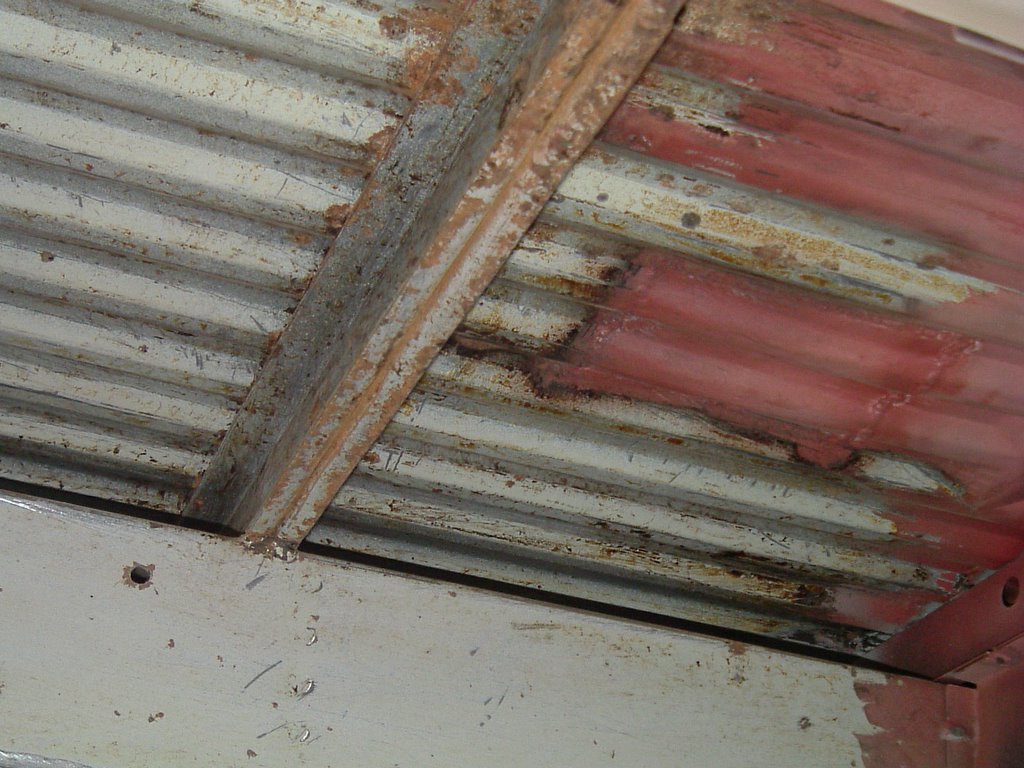
I spent countless times driving to and from the sandblaster or powdercoater while the car was away to get endless parts restored.
Hours at the screen hunting parts on ebay end up in tons of parcels arriving at my home, countless orders at specialised vw-dealers summed up in a quite large inventory of parts. Not one part of the bus that wasn't replaced, refurbished or in any other way been treated to be in perfect shape for reassembly.


You really can go crazy while doing this.


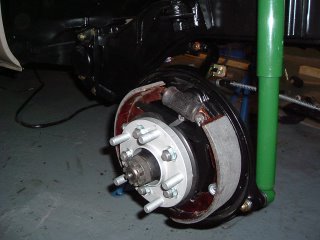
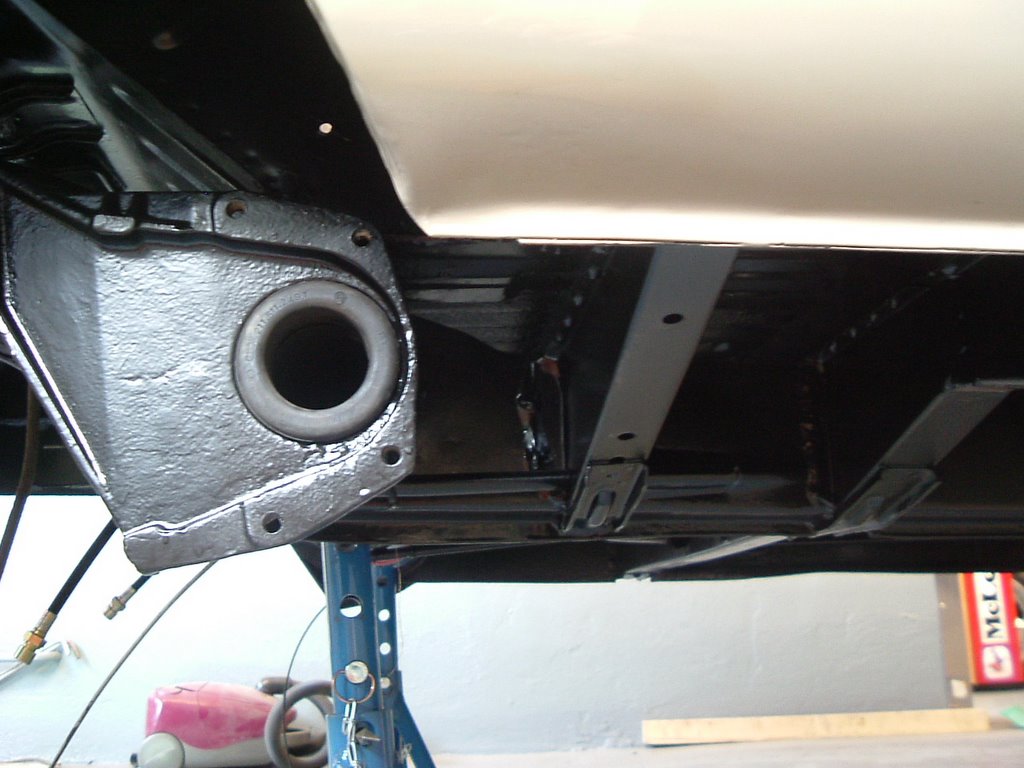
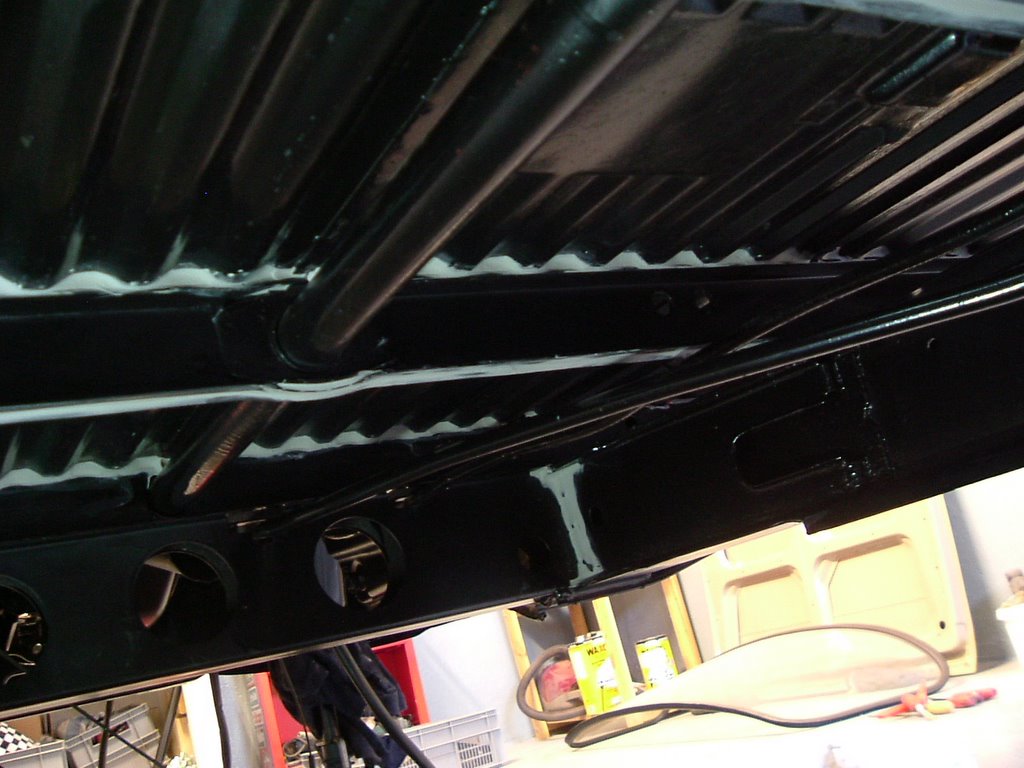
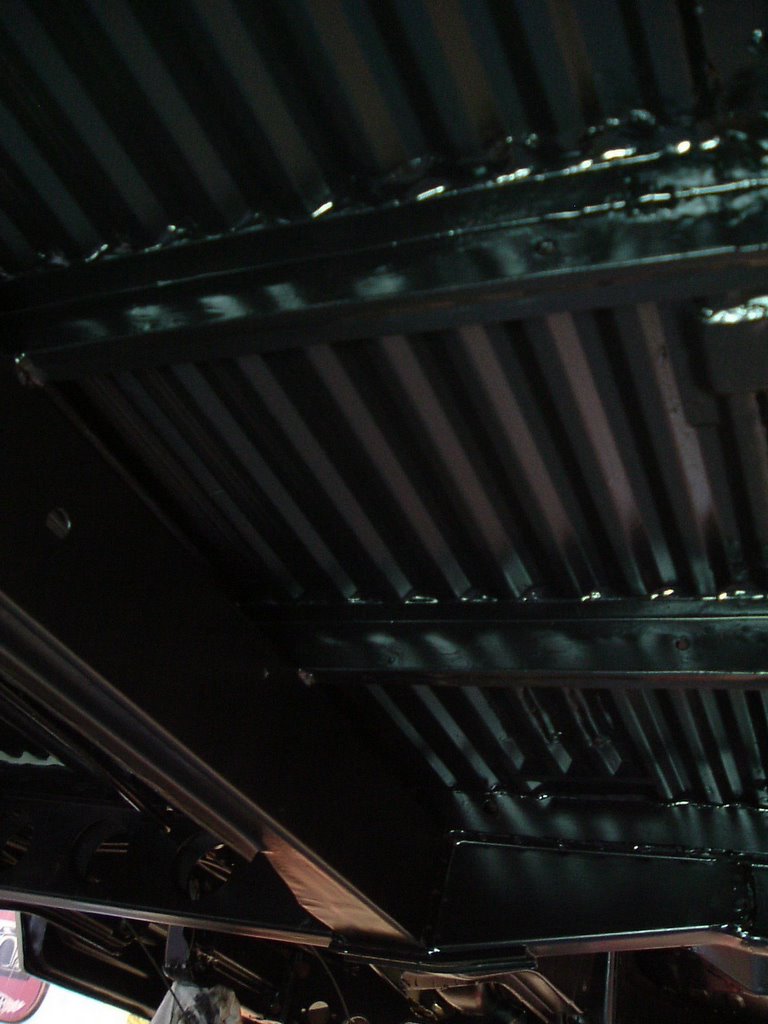
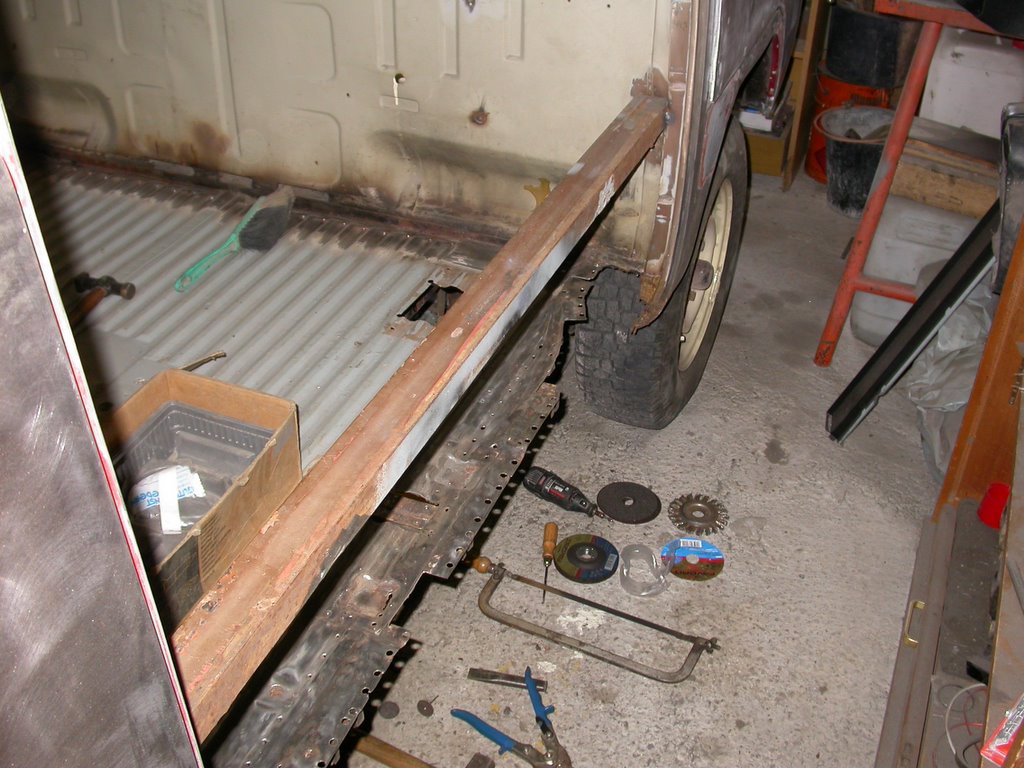
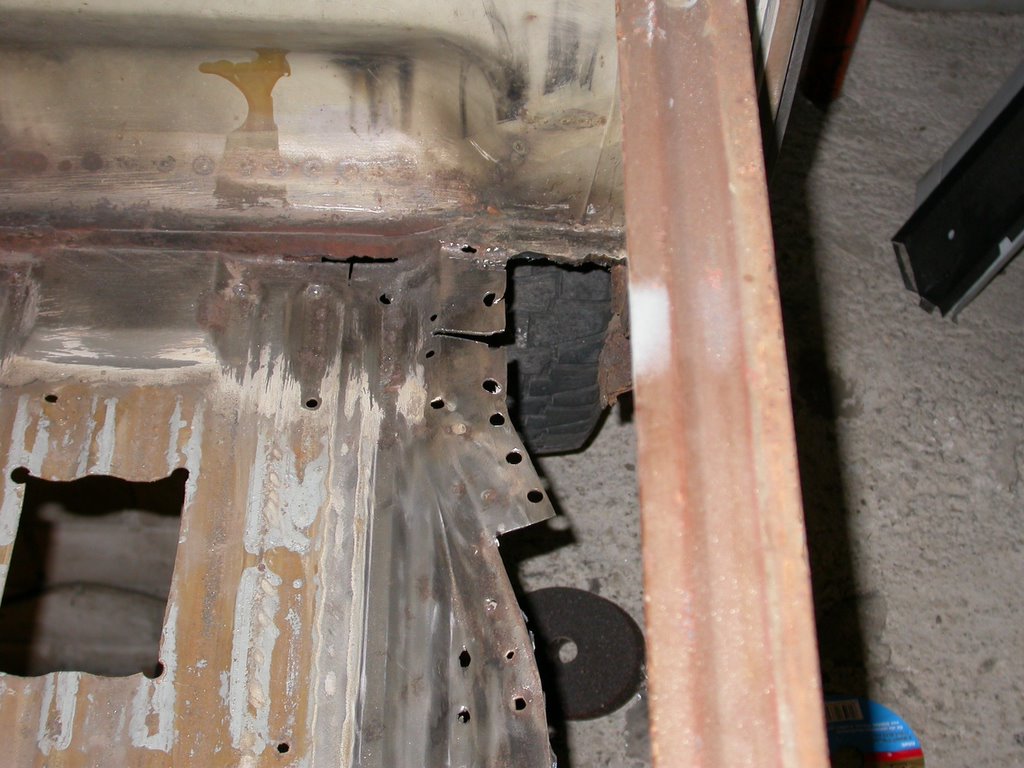
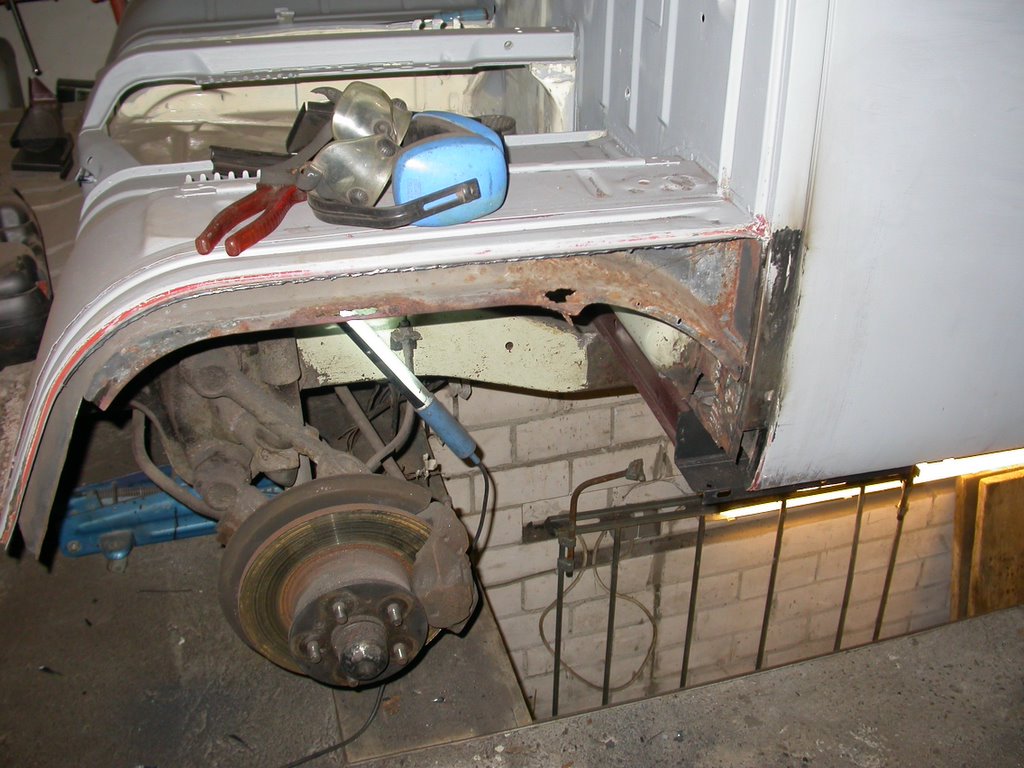
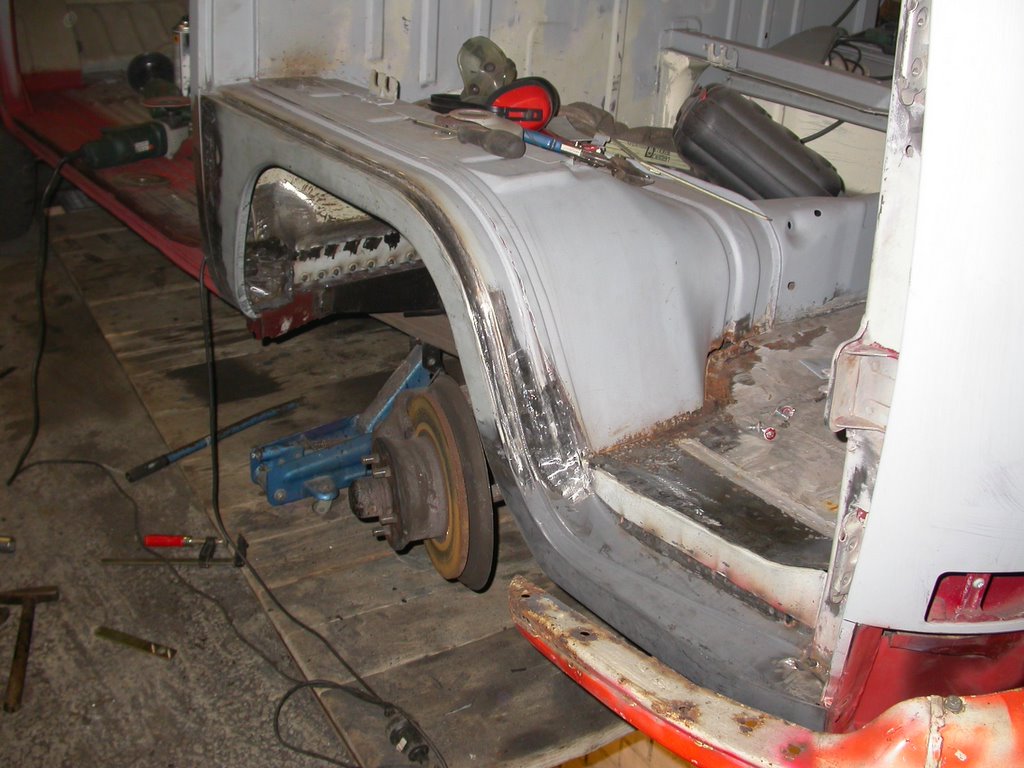
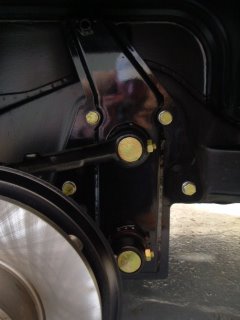
Creative Engineering's weedeater "narrowedbeam": tight and snug fit, perfect in every aspect (sorry for the dust...):
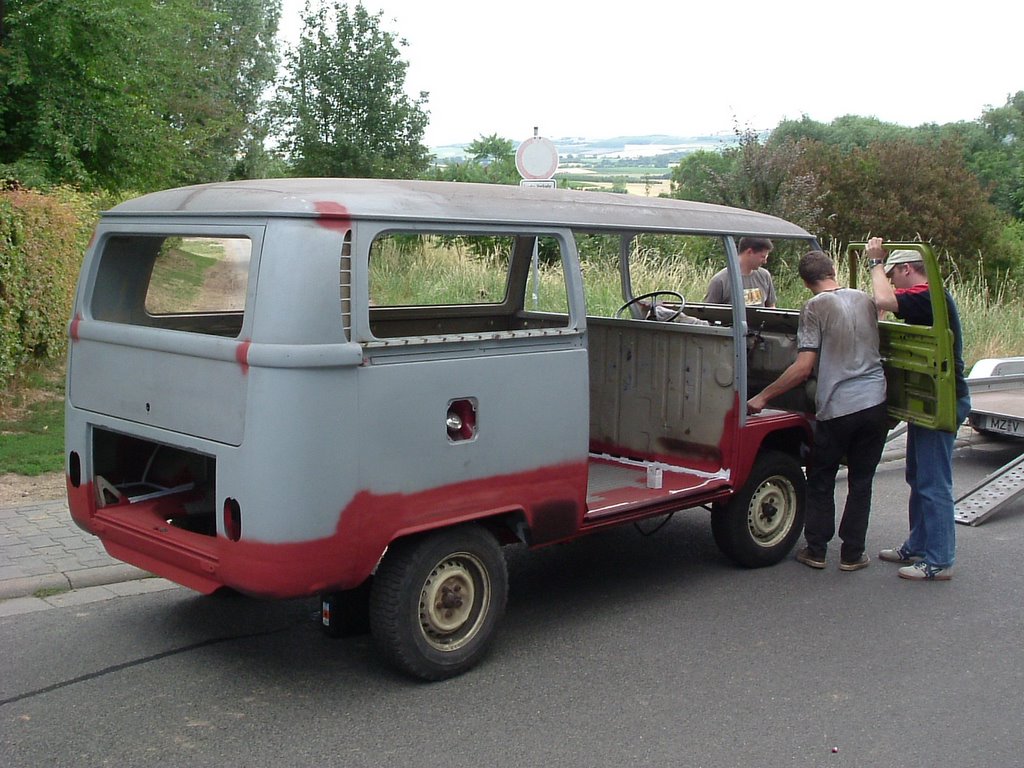
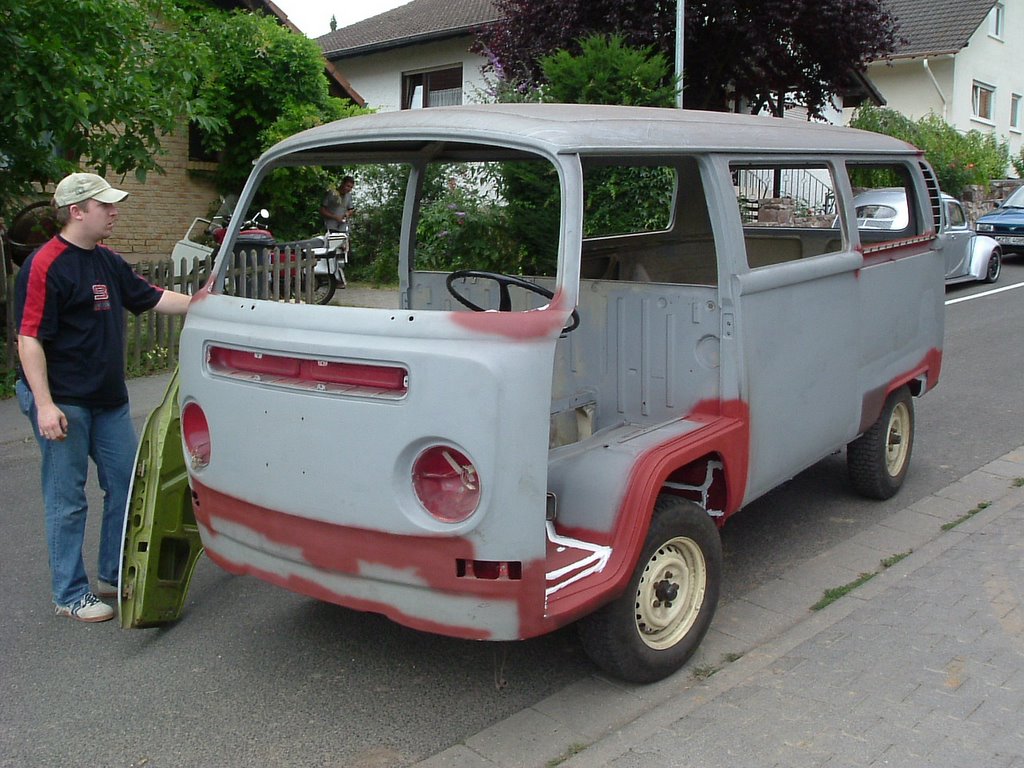
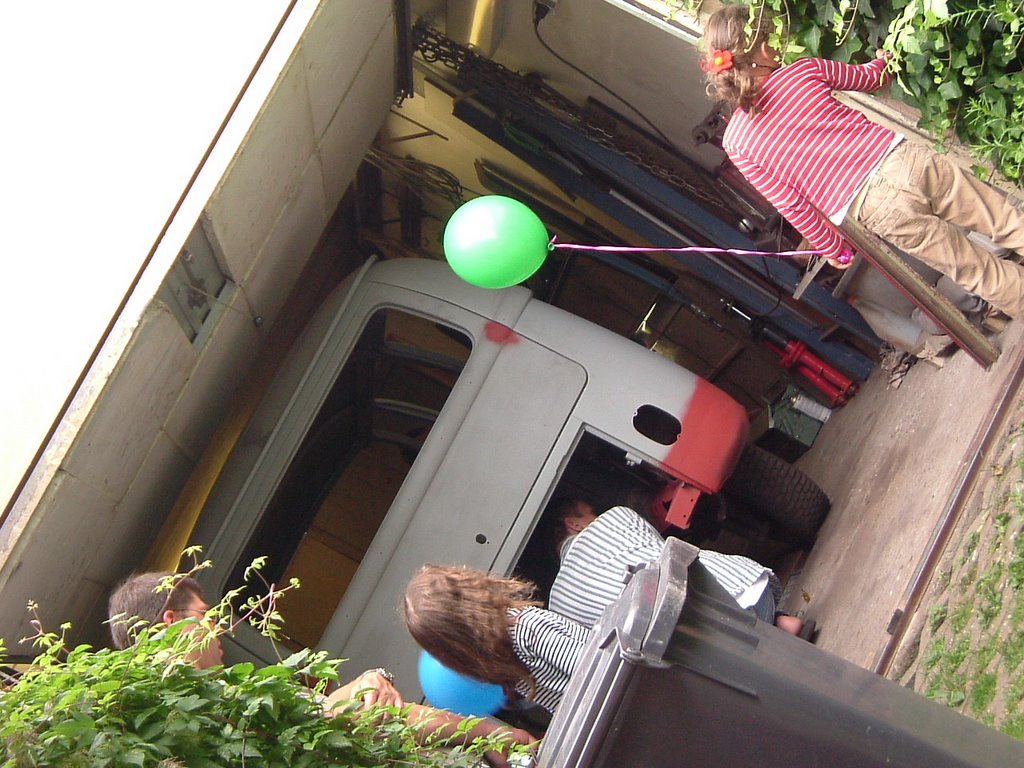
POR15 and Sikaflex time!

In order to get the bottom of the bus bulletproof I decided to use POR15 chassis paint. This special enamel is based on a formular with cyanacrylat and happens to react with air humidity.
It dries to an incredible rock-hard, non-porous finish that won't chip, crack, or peel, and it prevents rust from recurring by protecting metal from further exposure to moisture.
I found this to be pretty cool and the result feels ok.
I applied the first layer directly on the aseptic and dustfree sheetmetal
. Next step was to load my gun applying a total of 12 cartridges of sikaflex bodysealer throughout specific areas of the chassis. Every water- or mudtrap was spotted and closed forever. Finally the whole chassis received a finishing coat of POR15.

right-rear wheelarch:


right-rear torsiontube/outriggers:


frontaxle area:


rear-left wheelarch:


rear-left wheelarch/dampermount:


left-middle floorsection:


middle floorsection/shiftrodtube, showing
sikaflex treatment:


rightside framerail floorsection:


right-front jackpoint, remember the "before"-shot?:


right-front jackpoint/outrigger area:


left-front wheelarch/jackpoint area:


rightside floorsection towards front:


again left-front wheelarch:


rightside view of main framerail and floorsection:


another angle of the same:

First task...

...on my list was a complete tidy up of the entire undercarriage to get rid of all the ratty, greasy, sticky waxoyl teroson bullshit, luckily is has been dry and chippy on most areas. But because of the ingenious floorshape I only could use a 18mm blade. Now it's your guess how long it took to have it all removed...

Back home again.

After 4 full months. Now it's up to myself to finish the project.

...be delicious!


Ready for the Paintbox

Late Summer 2005: Great step for mankind is done. The next guy who will do magic on this bus will be Heinz Heymann and his crew. Paint scheme plans call for L378 prairiebeige for the body and L90D cloudwhite for the roof and bumpers. Thats quite a classic treatment as this bus will become historically licensed. L378 is an original vw colour for the oval-windowed bug and was available in the 50s. It's quite similar to an original bus colour called L620 savannahbeige but thats a bit more pale, so I went for the more unusual shade.
Otherwise, I personally, would strongly recommend choosing L620 as no other colour could charm the lines of an early bay better than savannahbeige, isn't it, helge? :-)))


Well, some day you're done.

And if you were lucky, your friends stuck with you.
Originally planned for 4 weeks time, the task blocked a whole of 11 weeks.
Bloodshed, torture treatment and disgusted neighbourhood included...
From left: "Suggar daddy" Gero, Basecap-Oli, me, and the man himself: our metalbeating wizard and prime welder maniac Thomas. Thanks for your support, mates.

Never surrender.

Don't get on it if you can't stay in it. It has been told that Thomas works with surgical instruments from time to time. But, thats rumours of course :-)